In my last post, “Improvising the Invites!” I jumped the gun. The 3 part assembled invite weighed only 0.9 ounces. Who knew that adding an envelope would push the weight over the first class limit?! I was so bummed; now instead of it being $0.46 it was now $0.66! Not only that, but I could see through the envelope. I felt so discouraged. I have these moments where I just want to scream at the top of my lungs, punch someone in the face and cry all at the same time and THIS was one of those moments.
One set back. One additional step: create a liner
I spent my day off, creating 2 folds and trimming the sides of 120 sheets of paper. Tedious, yes! Boring, yes! Dry fingers, yes! But finally they are ready to be inserted and glued into the envelopes.
Homemade Envelope Liners: line up the folds & cut the edges to match the flap
Insert and glue — that sounds simple enough right? I wish it were that simple; it turns out the folds didn’t give enough slack and the liner would sometimes get crumpled. After a handful of rejects, we concluded a different tactic was needed.
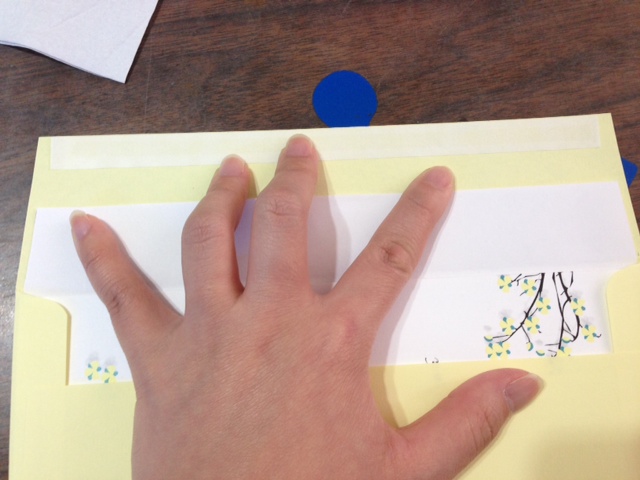
One set back. One additional step: Cut the liner into 2 parts
Slit slit slit 120 sheets of paper! Talk about working hard (good thing Matt’s mom was helping). Once we got that going though, it was a lot easier to insert and glue. We polished off and printed our labels, wrote the number of assigned seats on each RSVP card and finished off the invitations.
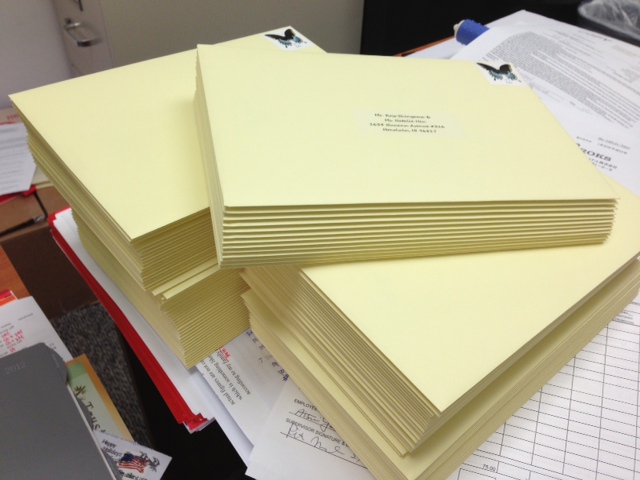
After at least 5 straight hours of invitation work, through a handful of tape dispensers and their refills — the invitations are finally assembled, stamped, sealed and ready to go!

Assembled. Stamped. Sealed. Ready to Go!
Goodbye invitations – no offense, but I am relieved to see you go! (Granted, we still have about 15-20 more to do, but for the most part we can dust our hands off and say adios)